
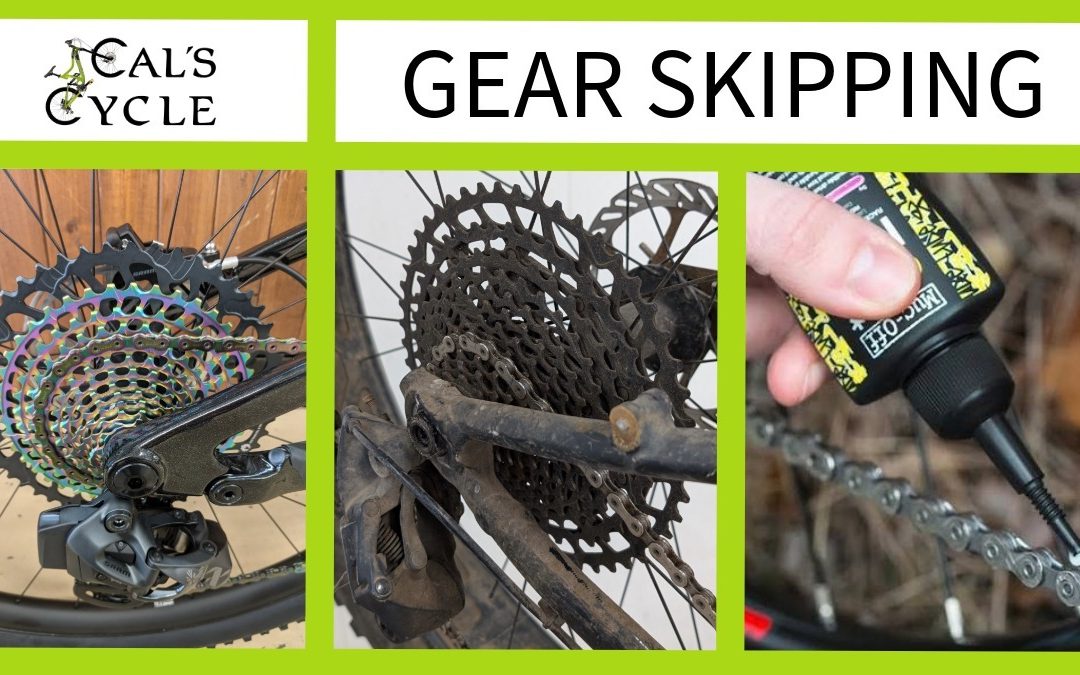
Gear skipping (often called chain slipping) is one of the most common mechanical issues cyclists face. While a skipping chain is sometimes caused by a simple cable adjustment, the underlying culprit is very often invisible wear and tear across your drive system.
There is nothing more frustrating than standing up to smash up a hill or accelerate out of a turn, only for your pedals to suddenly drop out from under you with a loud, metallic CLACK.
Here is a complete guide to understanding why your gears skip, how chain and cassette wear interact, and how a basic maintenance routine can double the life of your drive train.
1. The Real Culprit: Drive train Wear and "Chain Stretch"
When riders hear "chain stretch," they often picture the steel side plates of the chain pulling apart and getting longer under pedal force. In reality, modern bicycle chains don't actually stretch.
What Is Chain Stretch?
A bicycle chain consists of hundreds of tiny pins, bushings, and rollers rotating against each other. Over thousands of pedal revolutions, friction wears down the outer surface of the internal pins and inside of the bushings. This slop or micro-play between each link adds up across all 110+ links, increasing the total overall length of the chain.
How Chain Wear Destroys Cassettes
A new bicycle chain has a pitch of exactly 0.5 inches (12.7 mm) between pin centres. The teeth on your rear cassette cogs are cut to match this exact spacing.
As the chain elongates from wear:
- The widened distance between chain pins no longer sits cleanly in the valleys between the cassette teeth.
- The chain rollers begin climbing up the faces of the cog teeth under load.
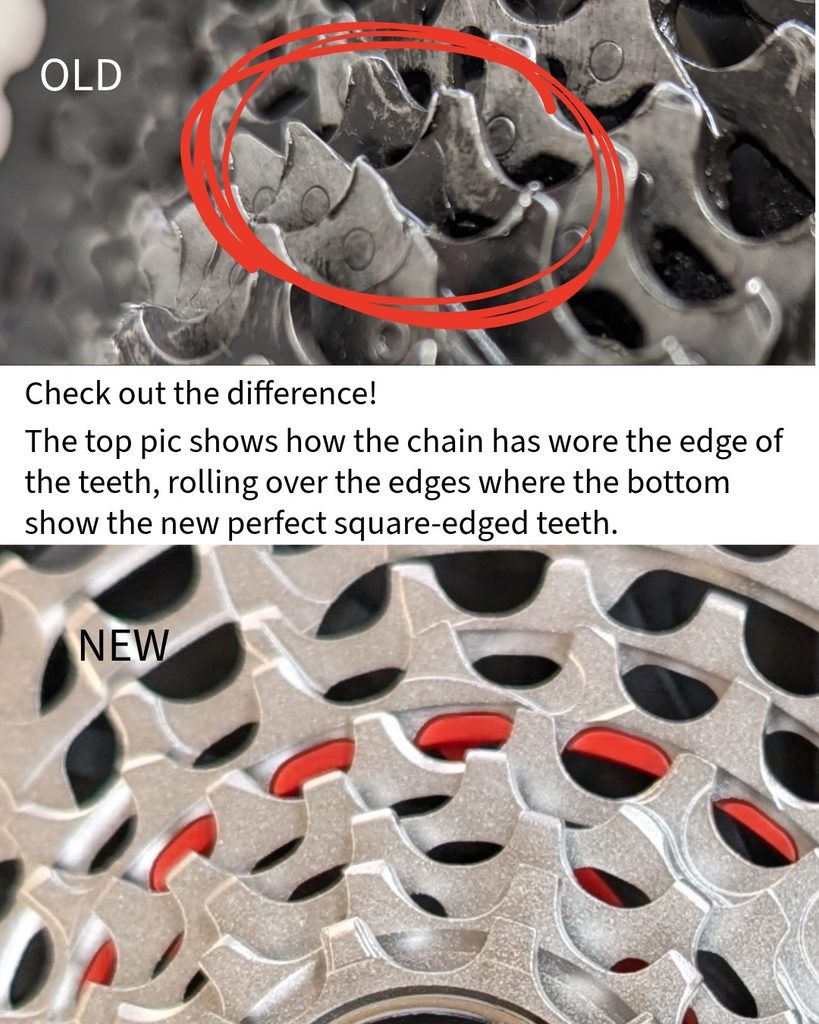
- Over time, the hard steel chain acts like a metal file, grinding down the cassette teeth until they lose their square, supportive shape and take on a pointed "shark-fin" profile.
Once the cassette teeth wear into shark fins, a worn chain might hold under light load, but the moment you put down power, the chain links slide over the rounded teeth and jump to the next position—causing that violent skipping sensation.
2. The Industry Standard of Drive train Replacement
Both the chain and the cassette are wear items. Either one, not maintained, can destroy the other while they mesh together with every pedal stroke. We see a large percentage of riders do not understand the damage they are causing by not maintaining their chain. They are surprised, and so are we, when we need to replace a chain in under 1000km
| Chain Wear Threshold | Drivetrain Condition & Action |
| 0.5% (or 0.50mm) | Ideal replacement point. Swap the chain now. Your cassette should still be in great shape and can handle 2–3 chain replacements before needing to be replaced. We always recommend a new chain at this point on a tune-up. |
| 0.75% (or 0.75mm) | Critical wear point. The chain is worn out and actively damaging your cassette. Swap immediately; your cassette may or may not accept a new chain without skipping. |
| 1.0% or higher | Severe wear. The chain and cassette have worn into each other. If you install a brand-new chain on this worn cassette, it will skip worse than before. You must replace both the chain and cassette together. |
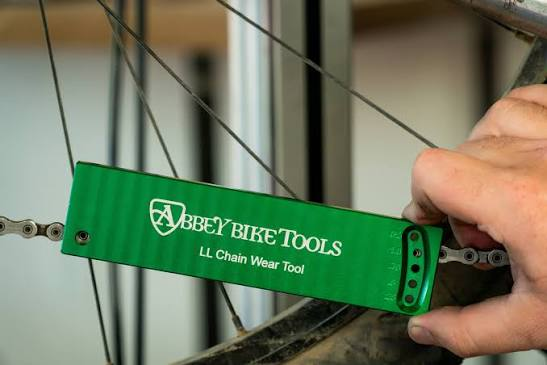
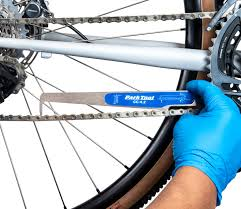
We use this very accurate tool from Abbey Tools (1st pic) for consistent measurement between all chains when we service your bike. If you’d like to purchase a cheaper home-use one I’d recommend the Parktool CC-3.2 or CC-4.2 (2nd pic)
3. How Chain Lubrication Lengthens Drive train Life
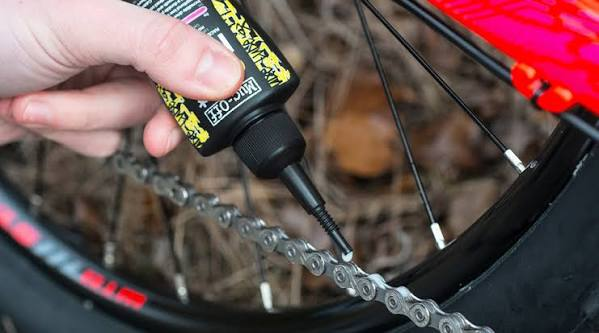
The single most effective action you can take to prevent gear skipping is maintaining a clean, well-lubricated chain. Contaminants like road grit, sand, and dust mix with wet oil to create an abrasive grinding paste that accelerates pin-and-bushing wear.
The Stats: Lubrication vs. Drive train Lifespan
Independent drive train efficiency and wear testing (such as data published by Zero Friction Cycling) demonstrates just how drastic proper lubrication is on component longevity:
- Unlubricated / Contaminated Chains: A chain run dry or covered in road grit can reach the critical 0.5% wear limit in under 800 to 1,200 km (500–750 miles).
- Standard Factory Lube / Basic Maintenance: Re-lubricating every 150–200 km extends chain life to roughly 3,000 to 4,500 km (1,800–2,800 miles).
- High-Performance Drive train Care (Immersive Wax / Premium Lube): Keeping the chain meticulously clean or using hot melt paraffin wax reduces internal pin friction by over 80%, stretching chain life to 8,000 to 15,000+ km (5,000–9,000+ miles) on a single chain—while extending cassette life up to 30,000 km.
Proper lubrication doesn't just make your shifts quieter; it routinely triples to quadruples the lifespan of your drive train components, saving hundreds of dollars in replacement parts over time.
4. Other Common Causes of Gear Skipping
If your chain and cassette check out fine on a wear gauge, your skipping might be caused by one of these mechanical factors:
- Indexing / Cable Tension: Over time, shift cables stretch or housing compresses. If cable tension is off by even a millimeter, the derailleur pulley won't center directly under the cassette cog, causing the chain to chatter or attempt to jump up or down gears unexpectedly.
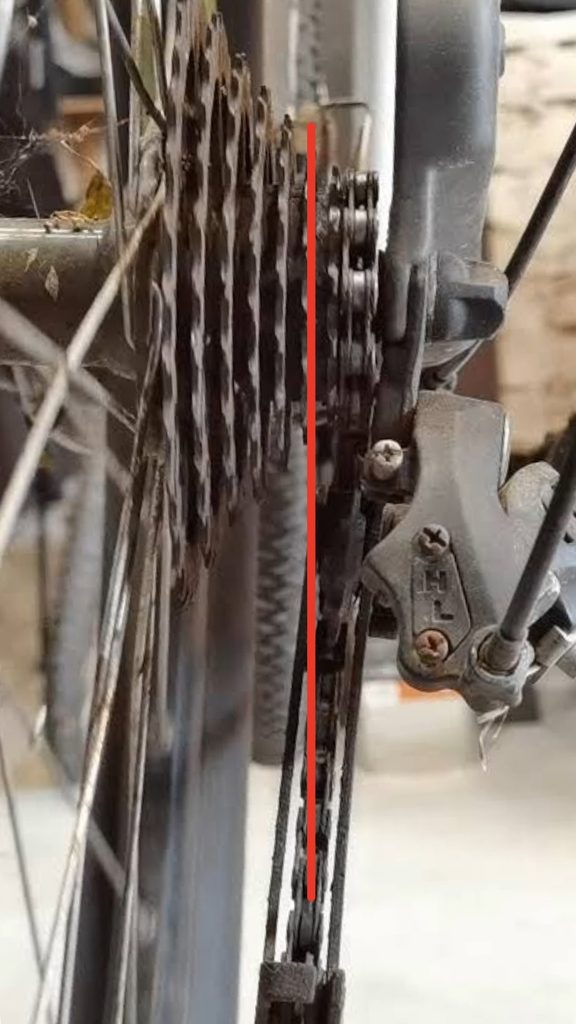
- Bent Derailleur Hanger: If your bike has tipped over or been bumped in transport, the metal hanger connecting the rear derailleur to the frame may be bent. Even a tiny twist aligns the derailleur at an angle, causing skipping in specific gears (usually near the middle of the cassette).
- Stiff Chain Link: A stiff or seized chain pin won't rotate smoothly around the tight circumference of the derailleur jockey wheels or smaller cassette cogs, causing a rhythmic skip every few pedal rotations.
- Worn Freehub Engagement: Occasionally, the skipping feeling isn't the chain on the cassette, but internal drive pawls inside the rear wheel hub slipping past their ratchet teeth under high torque.
Summary Checklist: Stop the Skip
To keep your shifting crisp and prevent gear skipping:
- Measure monthly: Use a $20–$30 drop-in chain checker tool to measure stretch before it ruins your cassette.
- Clean before you lube: Never apply fresh chain lube over dirty grit. Wipe the chain clean with a rag, apply lube to the rollers, let it penetrate, and wipe off all excess lube from the outside of the plates.
- Replace early: Swapping a $30–50 chain at 0.5% wear will save you from having to buy a $60–$300 cassette every time.
- Book a Tune-up Appointment: At Cal’s Cycle we can professionally perform basic adjustments and services to complete overhauls